Quick Start
This guide walks you through the key features of calServer v2 in just a few minutes — from login to your first calibration.
Prerequisite
You need a user account for calServer. If you do not yet have access, contact your administrator.
1. Log In
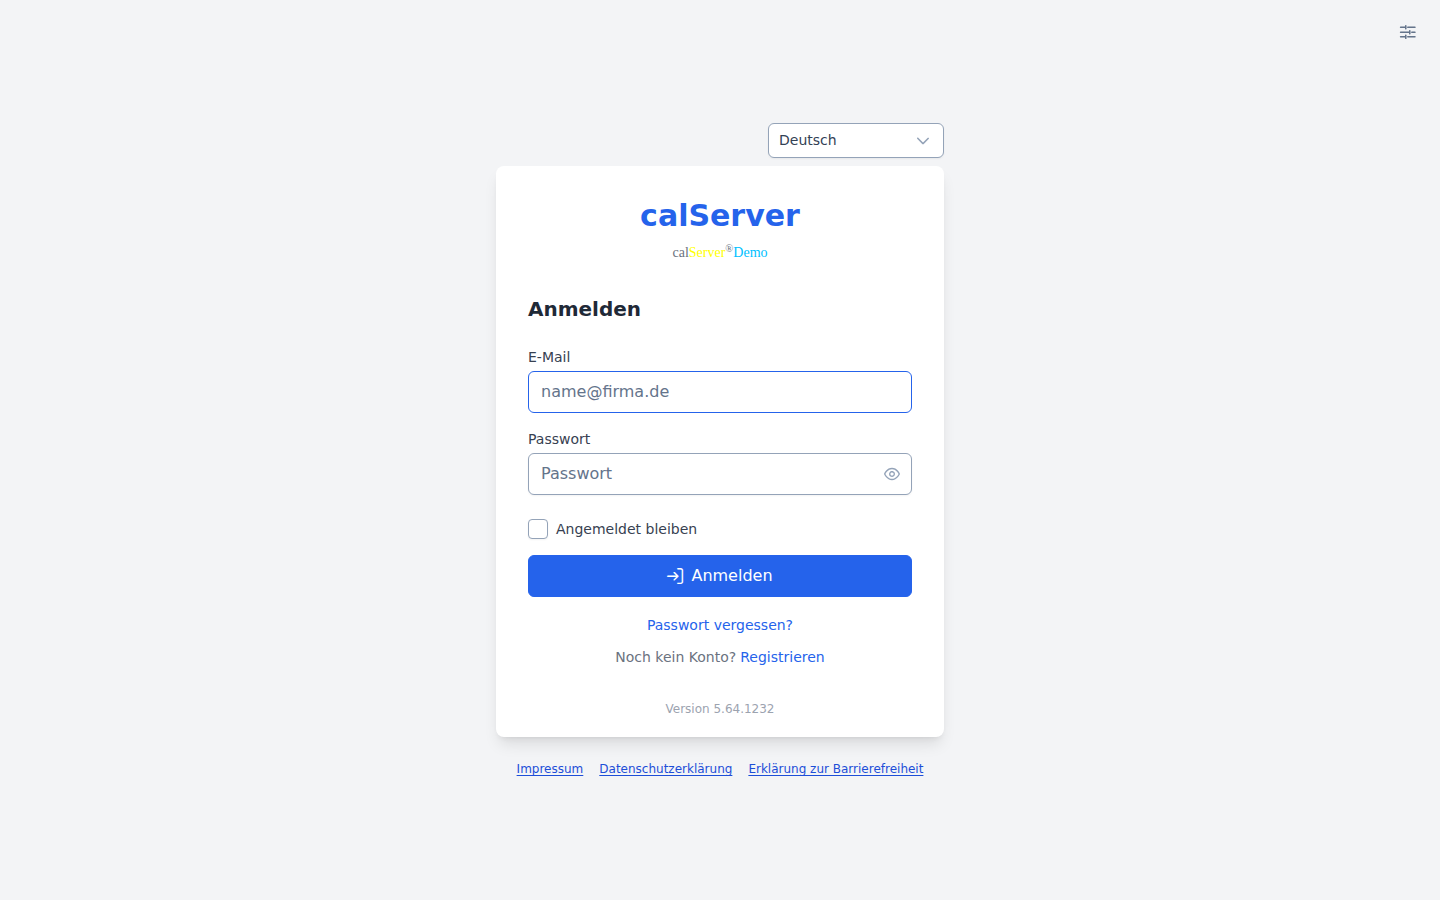
- Open your browser and navigate to your calServer URL with the path
/v2/— e.g.,https://your-company.calserver.com/v2/. - Enter your username and password.
- Click Log In.
First Login
On your first login, you will be prompted to change your password. Choose a secure password with at least 8 characters, including uppercase and lowercase letters as well as special characters.
2. Getting to Know the Interface
After logging in, you will see the Dashboard — your personal start center.
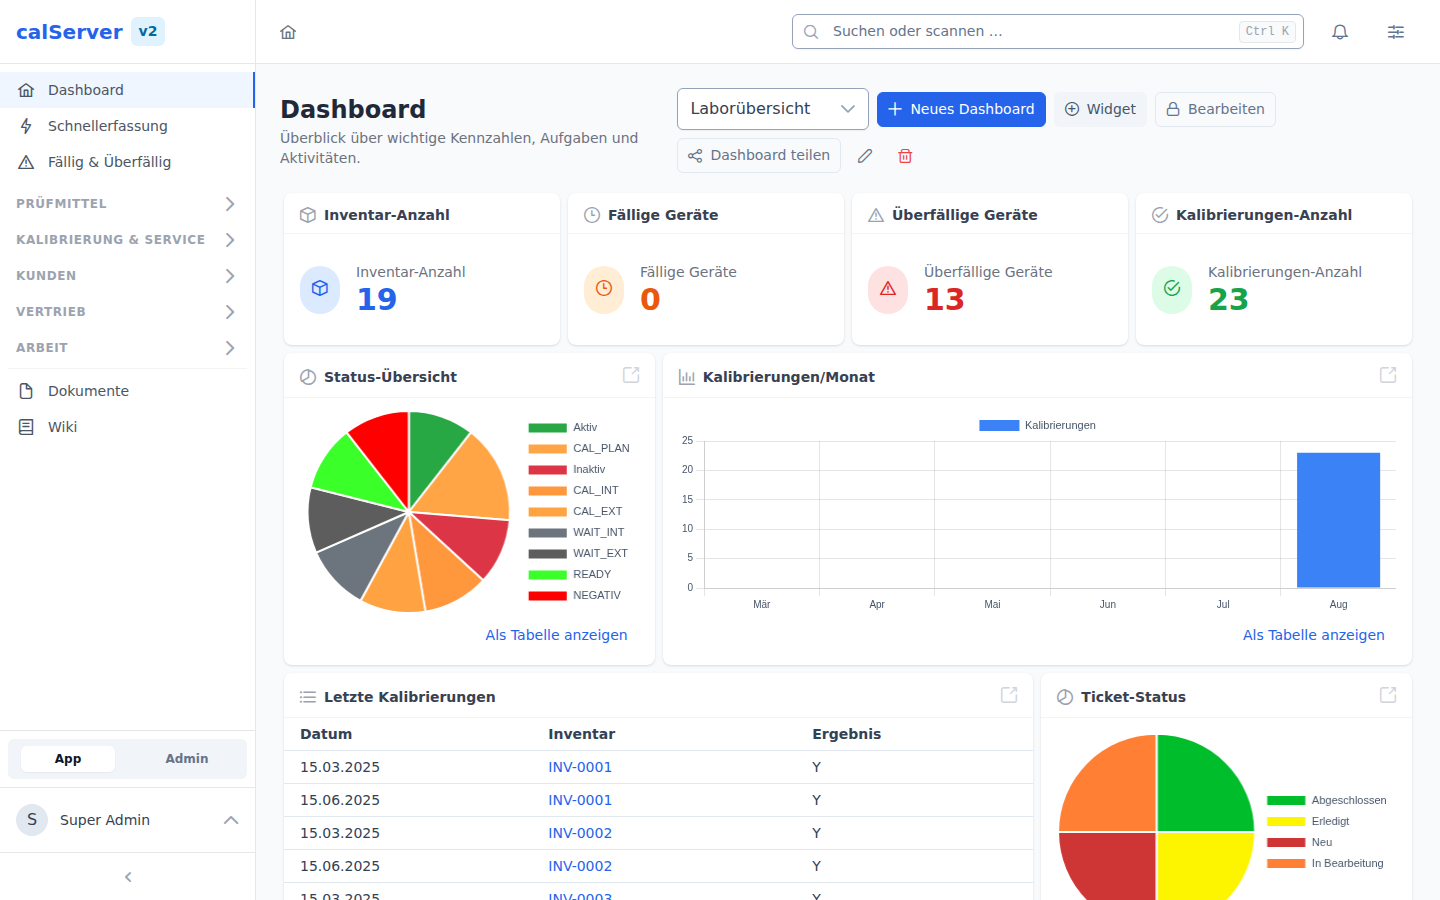
The user interface is divided into three areas:
- Sidebar (left): Access to all modules — Inventory, Calibrations, Customers, Tickets, and more. The navigation can be collapsed and expanded using the hamburger menu.
- Main area (center): Lists, forms, and detail views are displayed here.
- Header bar (top): User profile, settings, and global actions.
3. Open Inventory
- Click on Inventory in the sidebar.
- The inventory list shows all registered test and measuring equipment in a configurable data grid.
- Use the column filters in the header row to search for a specific device — e.g., by inventory number or description.
- Click on a row to open the detail view of the device.
Customize the Grid
Using the gear icon in the grid, you can select which columns to display. Your settings are automatically saved and will be available on your next login.
4. Create a Device
- In the inventory view, click the + New button above the list.
- Fill in the required fields:
- Description — Name or type of the device
- Inventory Number — Your unique identifier
- Location — Where the device is located
- Status — e.g., "In Service"
- Add additional fields as needed (manufacturer, serial number, calibration interval, etc.).
- Click Save.
5. Create a Calibration
- Open the detail view of a device (see step 3).
- Switch to the Calibrations tab.
- Click + New Calibration.
- Fill in the calibration data:
- Calibration Date — Date of execution
- Test Procedure — Applied procedure
- Result — Passed / Failed / Restricted
- Next Calibration — Due date
- Click Save.
The due date is automatically reflected in the dashboard and overview lists.
6. Next Steps
After creating your first calibration, explore these areas:
| Area | Description | Link |
|---|---|---|
| Customize Dashboard | Add widgets, configure KPIs | Dashboard |
| Grid Views | Customize columns, filters, and sorting | Data Grids |
| Navigation | Learn about all modules and menu items | Navigation |
| Initial Setup | Configure users, roles, and fields | Initial Setup |
v1 Still Available
All data you create in v2 is also visible in v1 — and vice versa. Both versions operate on the same database.